

The Short Answer
Most residential in-ground systems that use conventional low-voltage valve circuits can accept a smart controller without replacing the underground pipes, valves or sprinkler heads. Compatibility becomes uncertain when the system uses battery latching solenoids, two-wire decoding, a pump-start arrangement, proprietary equipment, damaged field wiring or more active zones than the new controller supports.
Do not buy from a photograph of the old timer alone. Record the terminals, power supply, zone count, sensor and pump connections first.
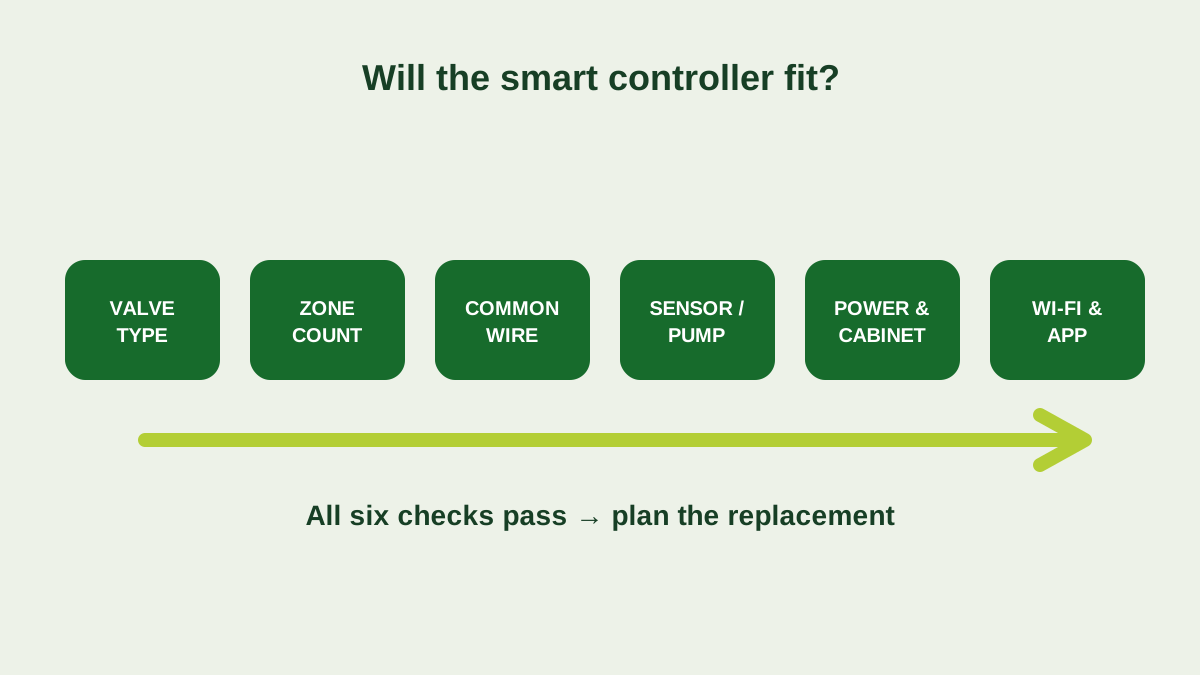
Seven Compatibility Questions
| Check | Compatible sign | Investigate before buying |
|---|---|---|
| Valve type | Conventional residential low-voltage AC solenoids | DC latching, battery timer or proprietary decoder |
| Zone count | Active station wires fit the new capacity | Every terminal occupied with expansion planned |
| Common wire | One or more labelled common conductors in sound condition | Missing, corroded or repeatedly repaired common wire |
| Power | Product and supply match the installation country | Imported transformer, hard-wired unknown supply or damage |
| Pump/master valve | Controller explicitly supports the required output | Pump connected directly or relay requirement unknown |
| Sensor | Supported wired/wireless sensor or acceptable removal plan | Sensor circuit undocumented or safety interlock confused with rain sensor |
| Connectivity | Reliable supported Wi-Fi at the mounting point | Weak signal, captive portal or unsupported band/security configuration |
Step 1: Count Active Valve Circuits
Open only the normal user-access panel and photograph the terminals before moving anything. Station terminals are commonly numbered; the common connection may be marked C or COM. A wire on Station 6 normally means a sixth valve circuit, but abandoned wires and unused terminals are common. Run each station manually and map what waters.
Use our zone-mapping guide before selecting controller capacity. Leave a sensible reserve only where field wiring and hydraulic design can actually support another valve.
Step 2: Identify the Valve System
Conventional residential controllers typically switch low-voltage AC power to one valve solenoid at a time through a shared common conductor. Battery hose timers and some specialist systems use DC latching solenoids. Large or newer installations may use two-wire decoders rather than one dedicated station wire per valve. These categories are not interchangeable merely because all of them control irrigation.
If the existing terminals or manual do not clearly identify the system, record the controller model and valve/solenoid markings and ask the manufacturer or an irrigation technician.
Step 3: Check Master Valve and Pump Requirements
A terminal labelled MV, P/MV or PUMP may control a master valve or a pump-start relay. A controller output should not power a pump motor directly. Verify the relay, output rating and manufacturer wiring diagram. This is a professional check when high voltage or well equipment is involved.
Step 4: Decide What Happens to the Rain Sensor
Many smart controllers can use a physical rain sensor as well as forecast data, but terminals and supported sensor types vary. Photograph the existing sensor wiring and determine whether the old controller uses a jumper when no sensor is present. Never assume two sensor terminals are ordinary zones.
Weather intelligence does not make an on-site sensor useless. Forecasts can miss a local shower, while a poorly located rain sensor can also misrepresent the property. Choose deliberately rather than removing the sensor during installation and forgetting it existed.
Step 5: Verify Power and Mounting
Confirm whether the replacement is indoor or outdoor rated and whether its supplied transformer matches local voltage and plug requirements. A smart controller may be electrically compatible with the valves but unsuitable for the existing exterior cabinet. Read our indoor versus outdoor controller guide before relocating equipment.
Step 6: Test Connectivity Before Purchase
Check the vendor’s supported Wi-Fi bands and security modes, then test signal where the controller will sit with the cabinet closed if possible. Mesh systems and 2.4 GHz networks often work well, but thick masonry, metal cabinets and detached garages can reduce reliability. Also verify that the app is available and supported in your regional app store.
Replacement Candidates
- Rachio 3, 8-zone for software-led automation in a suitable protected installation
- Rain Bird ARC8 where the correct regional indoor/outdoor model fits the mounting requirement
- Orbit B-hyve Indoor, 8-zone for an indoor value-oriented replacement
- HiOazo, 8-zone as a budget comparison requiring closer support and listing checks
When It Is Not a Simple Controller Swap
Call a professional when the common wire is open, several zones fail, voltage readings are abnormal, the system uses a decoder, a pump relay is unidentified, the existing enclosure contains mains damage, or field wires need to be rerouted. A new controller cannot repair a broken cable, seized valve, clogged filter or inadequate water supply.
Verdict
A smart controller works with many existing systems because it replaces the timer, not the irrigation network. Compatibility depends on valve type, station count, common wire, pump/master-valve arrangement, sensor, power, enclosure and Wi-Fi. Document those eight items first and the replacement decision becomes far more reliable.