

Can You Really DIY a Sprinkler System?
Yes — with the right preparation. A typical 2,500 sq ft lawn install takes one to two weekends and requires renting a pipe trencher ($150–250/day). The skill ceiling is low: this is plumbing, not engineering. The payback is $800–$2,000 in avoided professional installation costs, plus a system you fully understand and can repair yourself.
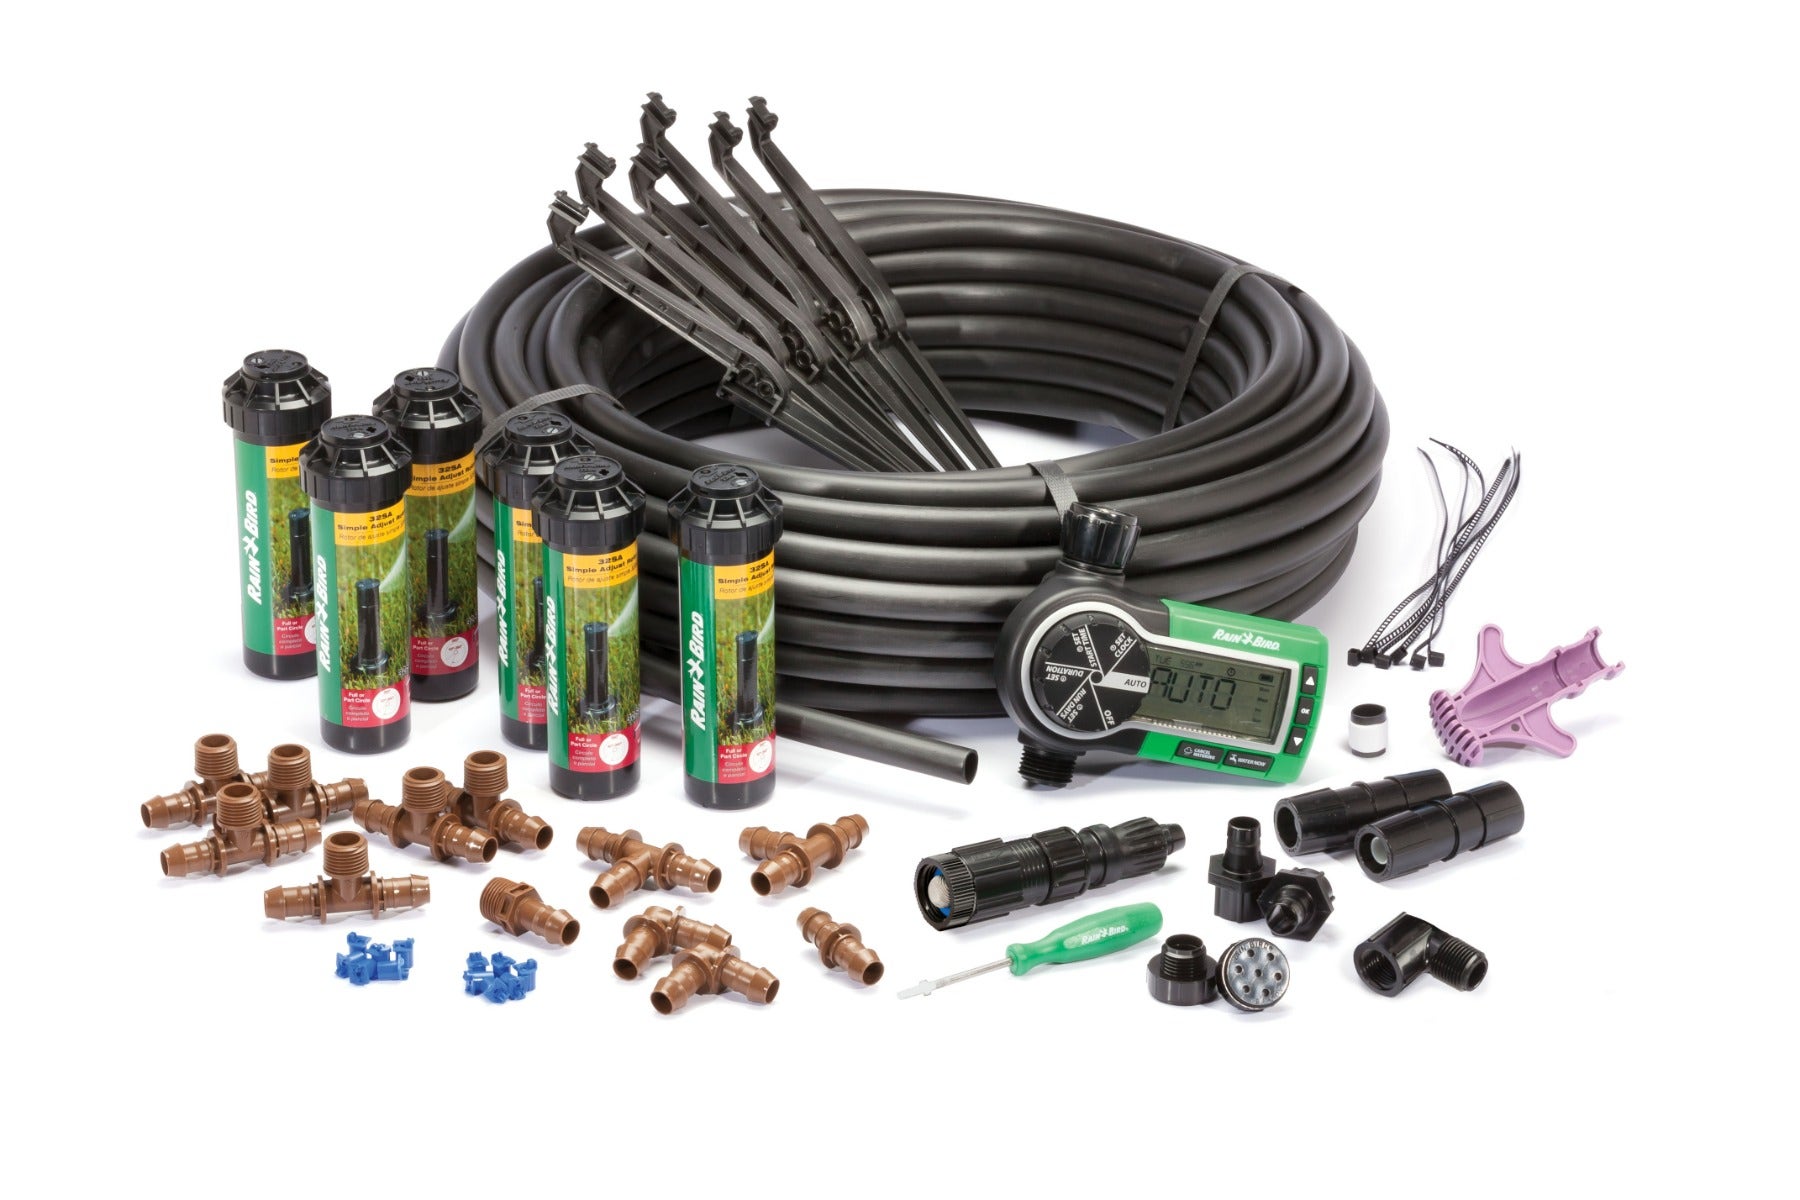
This guide is for: In-ground rotor/spray systems on residential lawns. Not drip systems (different guide) or above-ground systems (no install needed). What you need to know before starting:Tools and Materials
When is the best time to install a sprinkler system?
Install when soil is workable, turf is actively able to recover and the next several days are not forecast to bring hard frost, saturated ground or extreme heat. Spring and early fall are common windows, but the best date depends on local climate, permit and utility-marking lead times, and whether trench restoration can establish before dormancy.
Schedule the design and approvals first. Confirm the legal connection point, required backflow protection, utility markings and inspection sequence before opening trenches. In freezing climates, leave enough time to test the system and correct drainage or winterization access before the first freeze.
Tools (rent or own)
| Tool | Buy or Rent | Cost |
|---|---|---|
| Pipe trencher | Rent | $150–250/day |
| Pipe cutter / hacksaw | Buy | $15–40 |
| Wire stripper | Buy | $10 |
| Shovel | Own | — |
| Flags/stakes (marking) | Buy | $5 |
| Thread tape (PTFE) | Buy | $3 |
Materials (buy)
| Material | Notes |
|---|---|
| PVC pipe (3/4" or 1") | 3/4" for most residential; 1" for systems over 6 zones |
| PVC fittings (tees, elbows, couplings) | Buy 20% more than calculated — offcuts happen |
| PVC primer and cement | Buy matching formula (SCH 40) |
| Backflow preventer | Required by code in most states |
| Zone valves (one per zone) | Orbit, Rain Bird, or Hunter — all work |
| Valve manifold box | Protects valve cluster from soil |
| Sprinkler heads | Match to zone type (rotors for large areas, spray heads for narrow beds) |
| Poly pipe (optional) | Flexible alternative to PVC for lateral lines |
| Controller (timer) | See Best Smart Irrigation Controllers → |
| Multi-strand irrigation wire (18 AWG) | One wire per zone plus one common |
Step 1: Plan Your System
Planning is the most important step. A poorly planned system wastes water and leaves dry patches; a well-planned system covers the entire lawn on matched precipitation rates.
Calculate your flow rate
At an outdoor hose bibb, measure how long it takes to fill a 5-gallon bucket. Divide 5 by the seconds, then multiply by 60. Example: 45 seconds to fill → 5 ÷ 45 × 60 = 6.7 gallons per minute (GPM).
This is your available flow rate. Keep each zone's total head GPM demand below 75% of this number — so if you have 6.7 GPM available, design each zone for a maximum of 5 GPM.
What water pressure is best for a sprinkler system?
There is no universal best PSI. Measure static pressure first, then measure dynamic pressure while water is flowing at a rate close to the proposed zone demand. Use the head manufacturer's performance table to match pressure, nozzle flow and radius. Include pressure loss through the meter or pump, backflow device, valves, filters, elevation and pipe; the farthest head must still receive its required operating pressure.
If pressure is low, reduce zone flow or divide the design into more zones before specifying a pump. If pressure is excessive, use correctly selected regulation. Pressure-regulated heads manage excess pressure at the head; they do not repair undersized supply piping or low source pressure.
What is the best pipe size for a sprinkler system?
Choose pipe from design flow, allowable velocity, run length and acceptable pressure loss—not zone count. The earlier 3/4-inch-versus-1-inch shorthand is only a material-planning example. A long run, high-flow rotor zone or large elevation change may require a larger diameter even with few zones, while a short low-flow lateral may not.
Build a hydraulic worksheet for each mainline and lateral: list pipe material and inside diameter, developed length, fittings, elevation change and simultaneous nozzle flow. Check friction loss using the pipe manufacturer's table or an accepted hydraulic method, then confirm local velocity and burial requirements. Have the connection, backflow assembly and pump design reviewed where local rules require a licensed professional.
Divide your lawn into zones
Each zone runs on one valve. The rules:
- Don't mix rotor heads and spray heads in the same zone — their precipitation rates differ significantly, causing either overwatering or underwatering within the zone
- Don't mix sun and shade in the same zone — shade needs 30–40% less water
- Don't mix lawn and garden beds — different watering frequencies and amounts
- Keep each zone within your GPM limit (75% of available flow rate)
Head placement
For rotor heads (like Rain Bird 1800 series): use a triangle pattern with heads placed at the throw radius of each head — "head-to-head coverage." A rotor rated for 15-foot throw covers best with heads 15 feet apart in a triangle.
For spray heads: overlap 50% — a head rated for 10-foot throw should be placed 5 feet from adjacent heads.
Tip: Mark head positions with flags before you dig anything. Walk the pattern to verify coverage, adjusting for obstacles, property edges, and shade.Step 2: Connect to Your Water Supply
The irrigation system taps into your home's water supply before the meter — or at a dedicated irrigation tap after the meter. Both require:
Step 3: Trench the Mainline
The mainline is the pipe that runs from your water supply connection to your valve manifold. It carries full system pressure at all times.
Trench depth: 8–12 inches in most of the US. Deeper (18 inches) in zones 1–4 where ground freezing is possible. The pipe must be below the frost line. Mainline diameter: 3/4" for systems up to 6 zones at normal residential pressure. 1" if your GPM demand is high or you're running more than 6 zones.Rent a pipe trencher — hand-digging is viable for a small system but will take 3–4× longer. Most hardware stores and equipment rental companies have walk-behind trenchers that cut a 4-inch-wide, 12-inch-deep trench at a walking pace.
Step 4: Install the Valve Manifold
The valve manifold houses all your zone valves in one location. This makes repairs and troubleshooting straightforward — everything is in one place rather than scattered underground.
Place the manifold near where the mainline meets the irrigation system — typically close to the water supply connection, in a location you can access easily. Install one valve per zone on the manifold. Valves are wired to the controller: one wire per zone (to the zone terminal) and one common wire shared across all valves (to the C terminal on the controller). Protect the manifold with a plastic valve box set into the ground. These look like rectangular green lids — they keep soil out while allowing easy access.Step 5: Trench Lateral Lines
Lateral lines run from each valve to the sprinkler heads in that zone. These lines are only pressurised when the zone is actively running.
You can use:- PVC pipe (SCH 40): More rigid, most durable. Use primer and cement for all joints — no compression fittings underground.
- Polyethylene pipe: Flexible, easier to route around obstacles. Uses compression barb fittings — no cement needed. Slightly less durable than PVC.
- Run lines to the heads at the end of each zone first, then work back toward the valve
- Keep lateral line diameters at 1/2" for spray heads (low flow) or 3/4" for rotor zones (higher flow)
- Bury laterals 6–8 inches deep — shallower than the mainline is acceptable since they're not pressurised at rest
Step 6: Install Sprinkler Heads
Once laterals are in place, install heads at the flagged positions.
Rotor heads (like Rain Bird 1800 series):- Screw onto the riser fitting from the lateral pipe
- Adjust arc with the built-in ratchet mechanism — set the arc before backfilling so you can verify coverage
- Set to head-to-head coverage
- Screw onto riser, same as rotors
- Nozzles are interchangeable — match nozzle throw radius to your head spacing
- Set pattern with nozzle rotation
Step 7: Backfill and Settle
Backfill trenches in 4-inch lifts, tamping each layer. Don't compact heavily directly over pipe — pack around it, not on it.
Water the backfilled area thoroughly to help settling. Expect slight surface depression over the first 2–3 weeks as soil settles — this is normal. Top up with topsoil as needed and re-seed disturbed grass areas.
Set head height: Each head should sit flush with the finished grade when retracted. If heads pop up above the lawn surface, they get hit by mowers. Adjust the riser length if needed.Step 8: Wire the Controller
Run 18 AWG multi-strand irrigation wire from your controller location to the valve manifold. Standard wire colours:
- White: Common (C terminal)
- Coloured wires (red, blue, green, etc.): One per zone
- Connect the white common wire to the C terminal
- Connect each zone wire to its numbered zone terminal (zone 1, zone 2, etc.)
- Connect white common to one terminal on every valve
- Connect each zone wire to the remaining terminal on its respective valve
Step 9: First Run and Adjustment
Before covering anything, run each zone manually from the controller:
Controller Setup
For the best long-term results, pair your system with a smart controller — see our full comparison →. The Rachio 3 ($179) will save its cost in water bills within the first season on a system of this size, and the Flex Daily scheduling eliminates the need to manually adjust schedules seasonally.
For initial setup on any controller, programme each zone with:
- Zone type (rotor or spray)
- Soil type
- Sun exposure
- Plant type
What It Costs: DIY vs Professional
| Item | DIY cost | Typical pro quote |
|---|---|---|
| Materials (2,500 sq ft, 4 zones) | $350–550 | Included |
| Trencher rental (2 days) | $300–400 | Included |
| Smart controller (Rachio 3) | $179 | $250–400 installed |
| Total | $830–1,130 | $2,200–3,800 |
The professional install justifies its cost if: you have complex slopes, existing landscaping that makes trenching difficult, or simply don't want to spend two weekends on the project. For a straightforward flat residential lawn, the DIY install is very manageable.
Related guides:
- Best Sprinkler Systems 2026 →
- Rain Bird 32ETI Review →
- Rachio 3 Review — Smart Controller →
- How to Winterize Your System →
- Find Your USDA Zone →